Friday, October 17, 2014

Building a Paint Rack or Paint Shelf -- or whatever you want to call it! -- Here under Chilean Conditions

Hi all,

while unpacking my paints and preparing the first miniatures to be painted after moving continents (and back to Chile), I was all of a sudden like possessed of an idea I already had in the past but never realised: building a paint shelf/rack for my paints!
As you say in German: "Gesagt, getan!" (Said, done), I grabbed a piece of paper and a blunt pencil and started drawing. I imagined a high and narrow rack for the wall-side of my table with enough space to encompass all my paints and enough space for future paints. I have mostly GW paints, so my design is heavily centered on fitting the corresponding paint cans. As material, I envisioned 3-5mm strong ply wood (or wallboard?), which I wanted to fix by combining wood glue and nails. I did some quick calculations about the required size for the rack and the corresponding amount of material and rushed to the nearest tool/home center in Santiago...

Two stores and two hours later, I came back with this:

I could not find any suitable ply wood but instead this weird paper/wood mixture material (MDF, I think?) in pre-cut plates with a maximum dimension of 35cm x 40cm.  The thickness is 3mm. Instead of nails, I decided to buy a staple gun.

Since my rack was supposed to be 70cm wide and high, I first had to glue pairs of plates together and stapled them at the same time.


I left the glue to dry over night. The next day, I started putting the base and side walls together again with gluing and stapling at the same time...


BTW, for cutting the material I used a carpet knife and a metal ruler, which was not optimal but OK. The worst part was cutting all the individual narrow boards for holding the paints.

During this  cutting process, I realise two things that would become quite annoying later: firstly, my metal ruler was not straight! And second, the pre-cut MDF plates were not all exactly the same size but some where a few millimeters narrower! Both combined led to my paint rack in general being not very straight in the end...

Anyway, next I glued the back wall to the side and bottom, and then marked the planned positions of the boards.

I also marked the board positions on all sides of the upper side walls


Then I glued the first board...

I tried to also mark the board position on the backside of the rack in order to put the staples in the right positions...
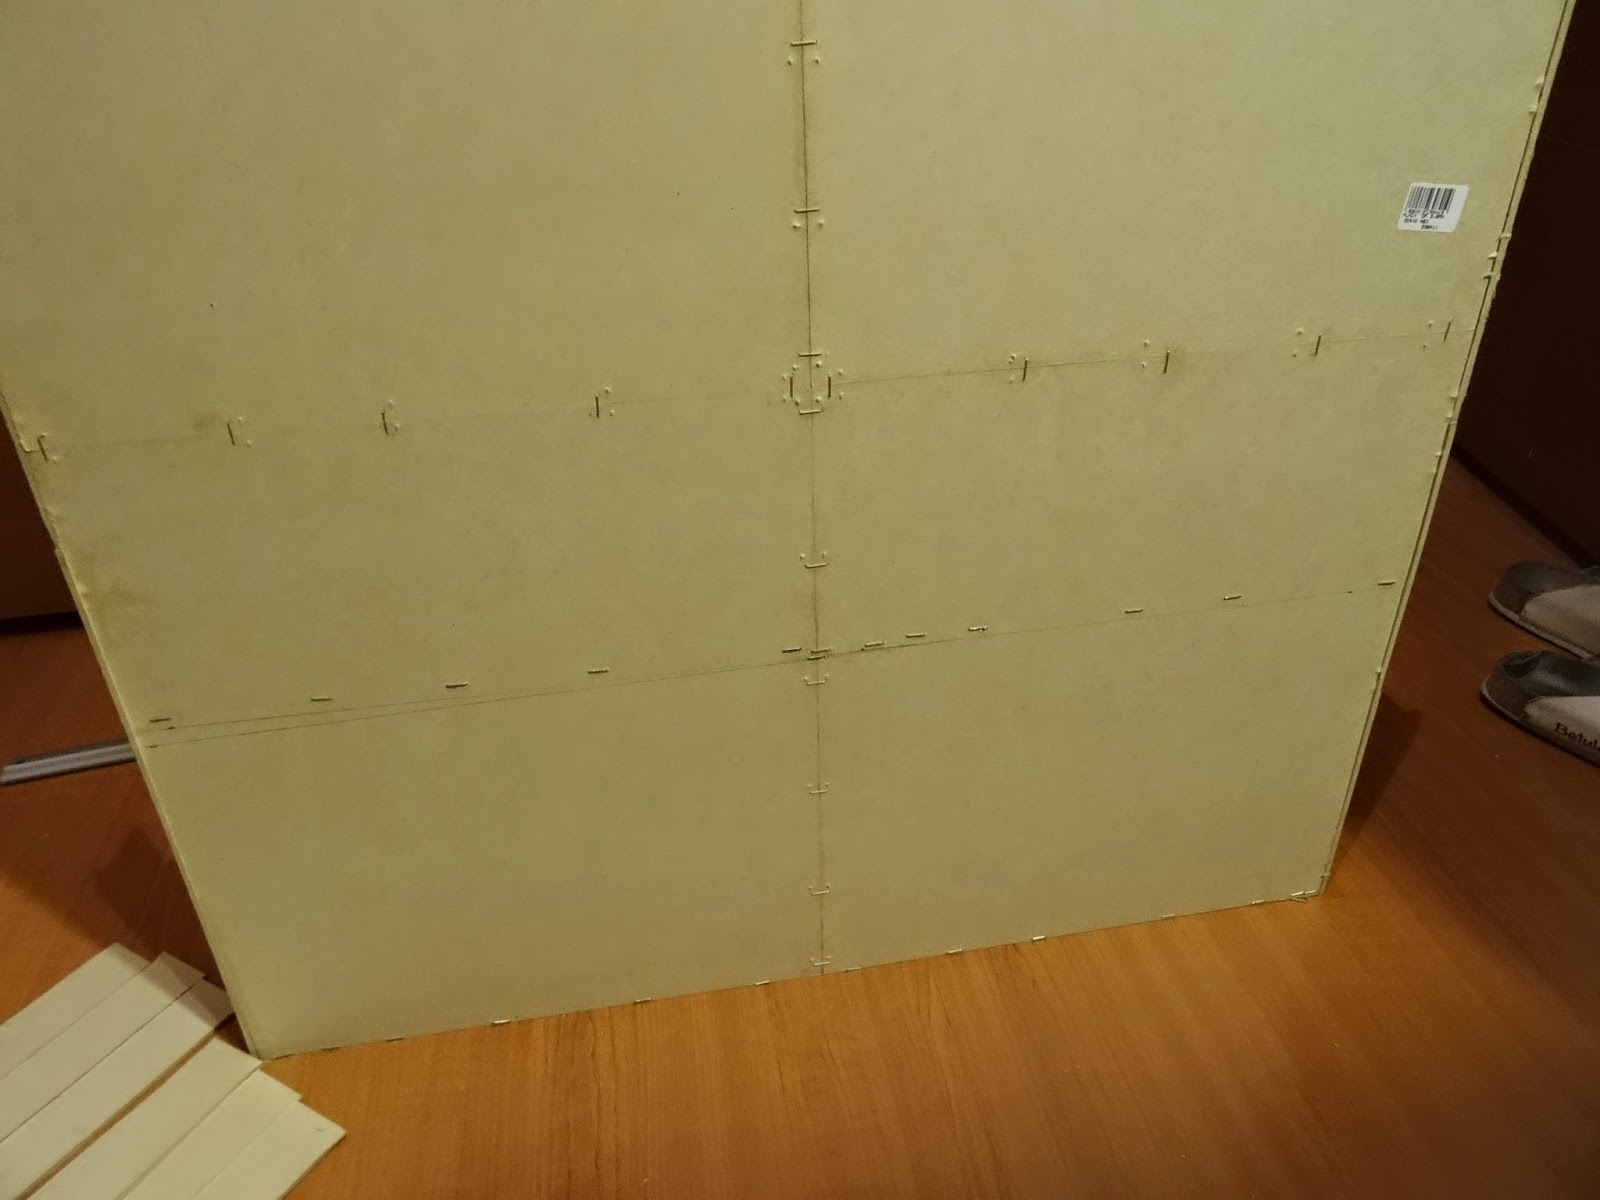

Which however, because of my non-straight ruler did not work very well. Therefore, I just drilled small holes into the back wall at the planned positions of the boards


And then started gluing and stapling...


 After having glued all boards one by one I put extra glue around all the corners.


The next day, I decided that for each board I wanted to have a small border that would prevent paints from easily falling of the shelf. This meant a lot of more cutting...

And gluing...


But then it was done, and since it is a paint rack, it needs to be painted! "Gesagt, getan!" ;-)


I know I got a bit carried away with the painting... ;-)


Here it is in its final position:


And filled with my paints:


Well, despite it being not completely straight and cleanly done, it is exactly as I imagined and I am super happy with it!

I hope you found this little article inspiring to build your own custom paint rack/shelf! It is totally worth it! ;-)

I leave you with the sunrise over Santiago as seen from my apartment....


Happy painting!

Saturday, April 12, 2014

World Eaters test miniature

It seems that the old World Eaters Berserkers miniatures are really cheap on ebay. Maybe, it is because they look sooo outdated?! I'd wish GW would make new ones although they would probably be more pricy than the awesome Forgeworld upgrade kits... ;-)

Anyway, I got a huge bunch of the GW Berserkers years ago for very few Euros. Most of them have already kind of thick paint covering the few details of these sculpts. However, there are some which are OK to be repainted...

I always imagined that the World Eaters would not waste time to repaint their servo armors in red when they completely turned towards Khorne. Instead, they would try to cover their harnesses with the blood of their enemies. This is my take at this idea...


Friday, April 11, 2014

Support for the Goliaths -- A flaming juve and a Ratskin scout

Finally, I managed to make some pictures of my first painted minis of 2014. Unfortunately, the pics are quite bad. My camera was very bitchy. Sorry for that! I hope you can still get an idea oh my paint job...


When I did the photos of the juve, the water effect gel was still not dried and thus white instead of transparent...


Both miniatures are from Grenadier...

Sunday, March 23, 2014

More from the treasure box & a first application of the airbrush -- Simple classic ruins

Hi,

apart from many cool bits and miniatures, there were also six of these plastic ruins from the old 3rd edition Warhammer 40k box... I always like these corners, they are so fourtykay! Since my friend lacks terrain pieces for his gaming table to be created and I was eager to try out my new airbrush on some tabletop stuff, I decided to make some super-quick and simple terrain pieces out of them.

Some minutes of gluing later, I was ready to apply my special micture of black paint, white glue, sand and pieces...

I cut some "


The good thing about adding the black paint to the mixture is that the terrain pieces are already primed in black after everything dried.

So I applied some grey paint with the airbrush on the next day. Since GW colors are sooo expensive, I decided to use these cheap acrylic paints I got in a super market. Only disadvantage, you have to water them down a lot before you can put them into the airbrush.

After the gey, I added some brown to make the ground look more interesting...

Next, were some light-grey highlights on the walls and big stones. I added some yellow into the mix to again make everything more interesting...

Finally, the ruins still looked a bit boring to me. Thus, I decided to take some green (mixed with brown) and airbrush the shadowy parts of the walls with it. So unknown reasons it comes out waaay too much in the picture below! The effect is much more subtle in reality!

After the airbrushing, the ruins looked decent but they lacked "depth". This naturally results from the airbrushing itself, i.e. there are no highlighted edges and darkened corners. But this can easily be achieved with a conventional brush:

1. washing the walls with very much thinned black

2. Drybrushing with un-thinned white

Here are the finished classical ruins on the day. Unfortunately, the colors in the following pics are weird. Sorry for that!


So in the end, the airbrushing took longer than I expected (a few hours) but it was a lot of fun, in particular because, different to a normal paint brush, it was very easy to paint the many difficult-to-reach spots. This way, one can concentrate on building up nice color transitions...

Cheers!