Showing posts with label step-by-step. Show all posts

Sunday, May 28, 2023

Rebasing Wings of Glory Airplanes to extendable magnetic poles


 Hi Fellas,

something slightly different this time: Since a year of so, I am collecting and playing Wings of Glory from Ares Games. So far, I have only played WWI but I think it is a fantastic game in particular with many people (everyone controlling one plane)!

I saw a video about this game at the Youtube Channel of Little Wars: https://www.youtube.com/watch?v=2mjTCb2CArk&t=1297s
and I was amazed how cool and immersive the game looked in that video! So I had to do the same!

Here is what I did to rebase the Wings of Glory Airplanes onto extendable magnetic poles. It turns out quite simple!

Materials:
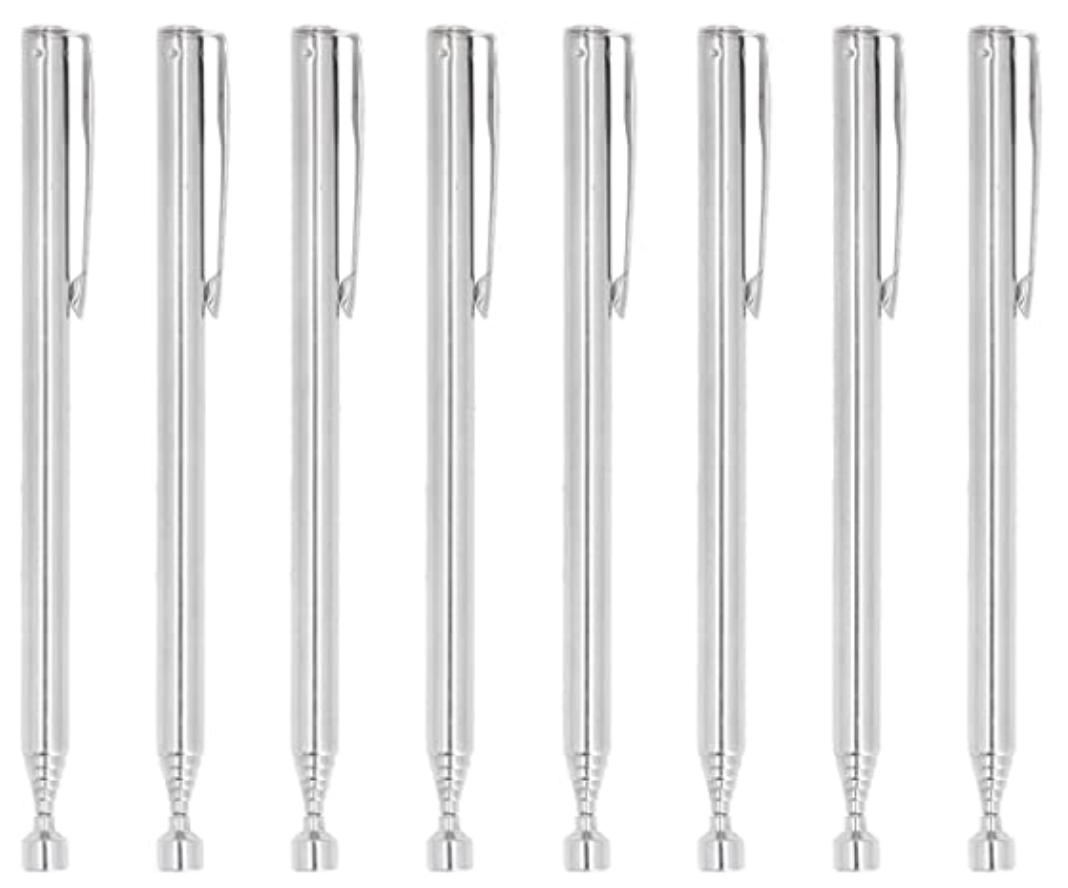
- telescopic magnetic pickup tools, e.g., https://www.amazon.de/dp/B0BNT3BXY7?psc=1&ref=ppx_yo2ov_dt_b_product_details&language=en_GB
- Neodym ring magnets Ø diameter 6mm, thickness: 2mm,  hole diameter: 2 mm  

(There are also magnets with spherical holes, i.e., ball-shaped but they are much more expensive).

- 5mm steel balls (e.g., paint pot mixing balls from AK Interactive)

- OPTIONAL: heavy washers with at least 6mm diameter holes and max 4cm diameter for the small bases. 


Tools:
- electric drill/dremel
- cutter
- small drill bit (e.g. 2 or 3mm)
- round/ball sanding bit
- sanding paper 
- super glue

Step-by-Step:

- Plane:


Not shown above: sanding the steel ball to have a rougher surface texture helps with the gluing and the stability of the positioning later on the base!

- Base (shown for a different plane, apologies!):


Now one just needs to stick the Ring magnet on top and optionally a washer at the bottom for more stability and its done!


One more thing: you can get even more stability for the plane positioning if you sand the inner edges of the ring magnet like this:

This is a bit difficult because the magnet is very hard and becomes very hot very quickly from the friction. Thus a word of warning: Neodym magnets loose their power if the become too hot (ca 80° C), so do not overdo it!

Happy flying!

P.S.: A nice side-effect is the easy storage of the planes on a steel tray: 


Wednesday, February 22, 2023

Building your own Miniature Transport Case

Initial Thoughts and Motivation (skip to pics at bottom for construction guide ;-))

I don't know about you but I have never been really satisfied with the available storage and transport solutions for miniature, in particular the foam trays which I initially used: Too much hustle to pick up the individual miniatures from the foam and fuddle to put them back. In addition foam trays need a lot of space. 

Then there is another aspect to consider: I would like to display my miniatures at home in a glas cabinet. So I was looking for an overall solution which would allow me to transfer miniatures from my cabinet to a transport case, take them on a spin at my gaming club and put them back into the cabinet after with the least possible hustle. 

The solution is probably obvious to you: magnetise the miniatures and put them onto steel trays! 

There are some excellent solutions for this out there like the transport system from A-Case. Two downsides for me personally: the very high price, and the shape of the trays not optimal for my cabinet. 

So why not do it yourself?


Materials

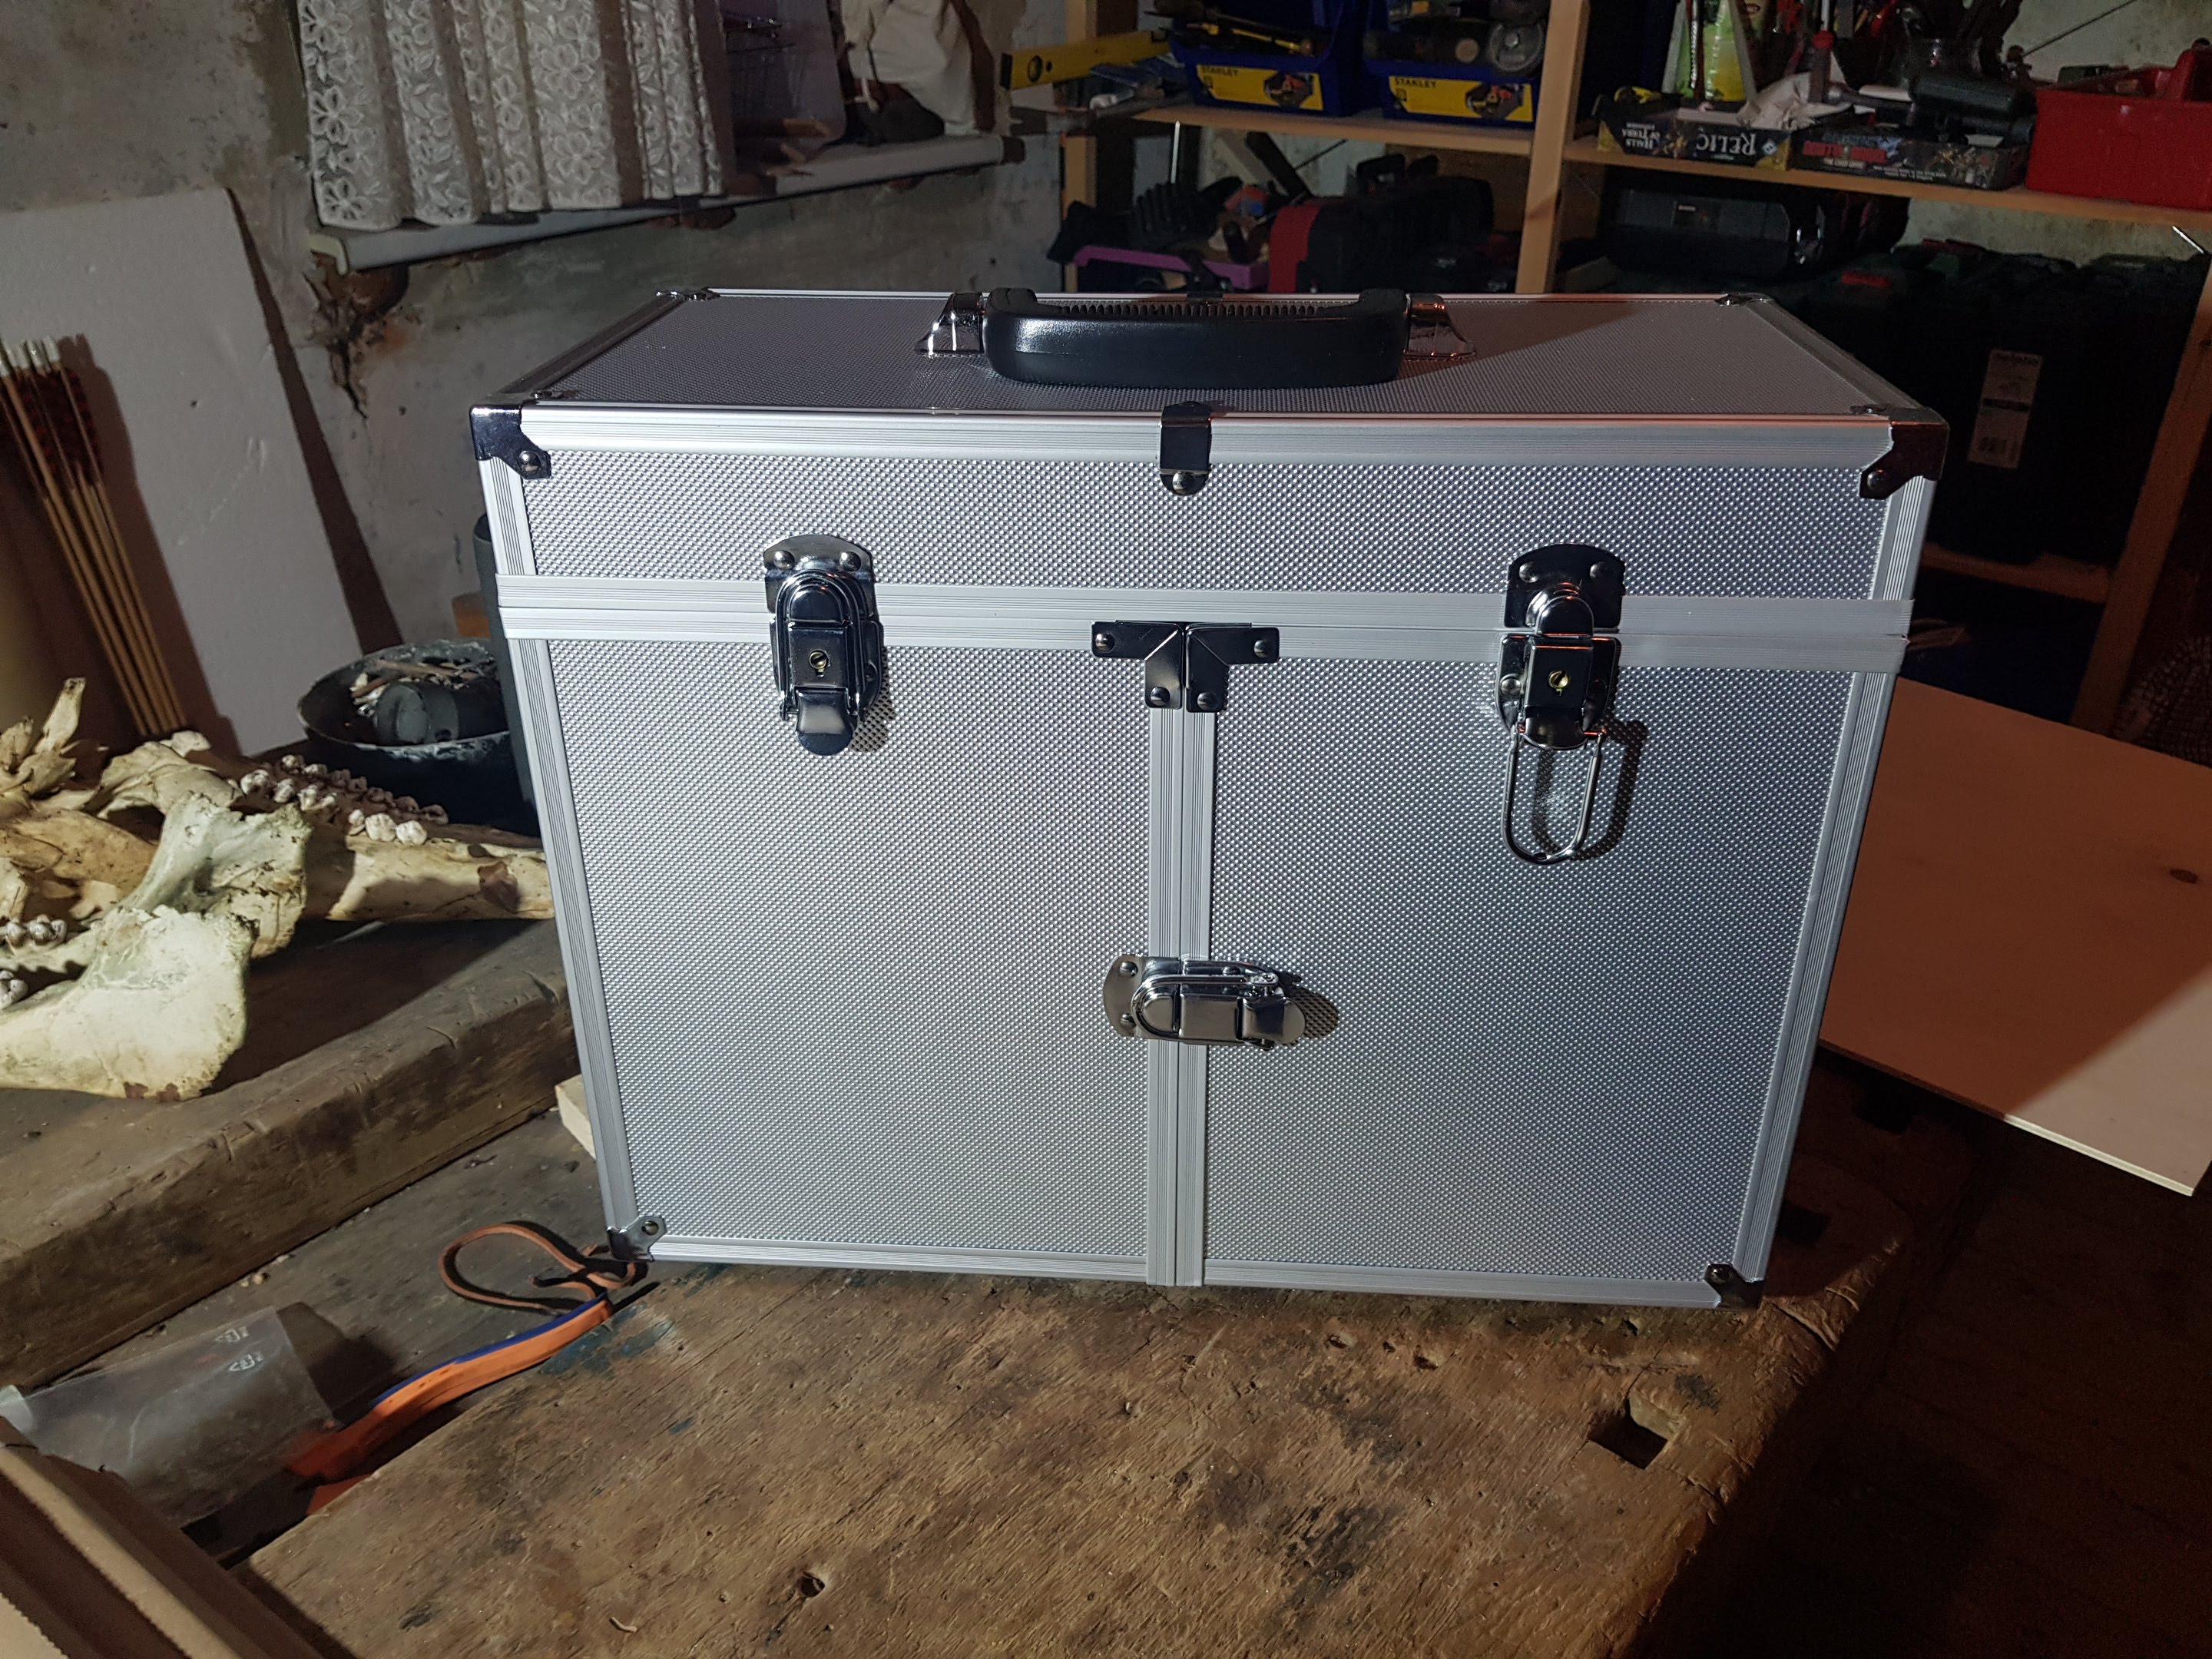
I did not want to build outer case myself though but was rather looking for a suitable aluminium hard case. The best I found was this one:

The Theatro Case from Comair (for hair dressers):


It has the following dimensions:

Width: 42 cm

Height: 33 cm

Depth: 20 cm

Most important for me it were the side doors in the fron which would allow easy putting in and taking out of trays.

At the time, I bought it (in 2021) I could get it for 65 € (in Germany). I am afraid that it is not that easily available so you might have to look for something similar that is available in your place and adopt the dimensions of the other materials below.

Further stuff:


- the steel trays! Ordered and pre-cut online to 40.5 cm x 18 cm. Important: Use raw steel not stainless steel! Stainless steel is much less magnetizable, i.e., the magnets do not hold as good!


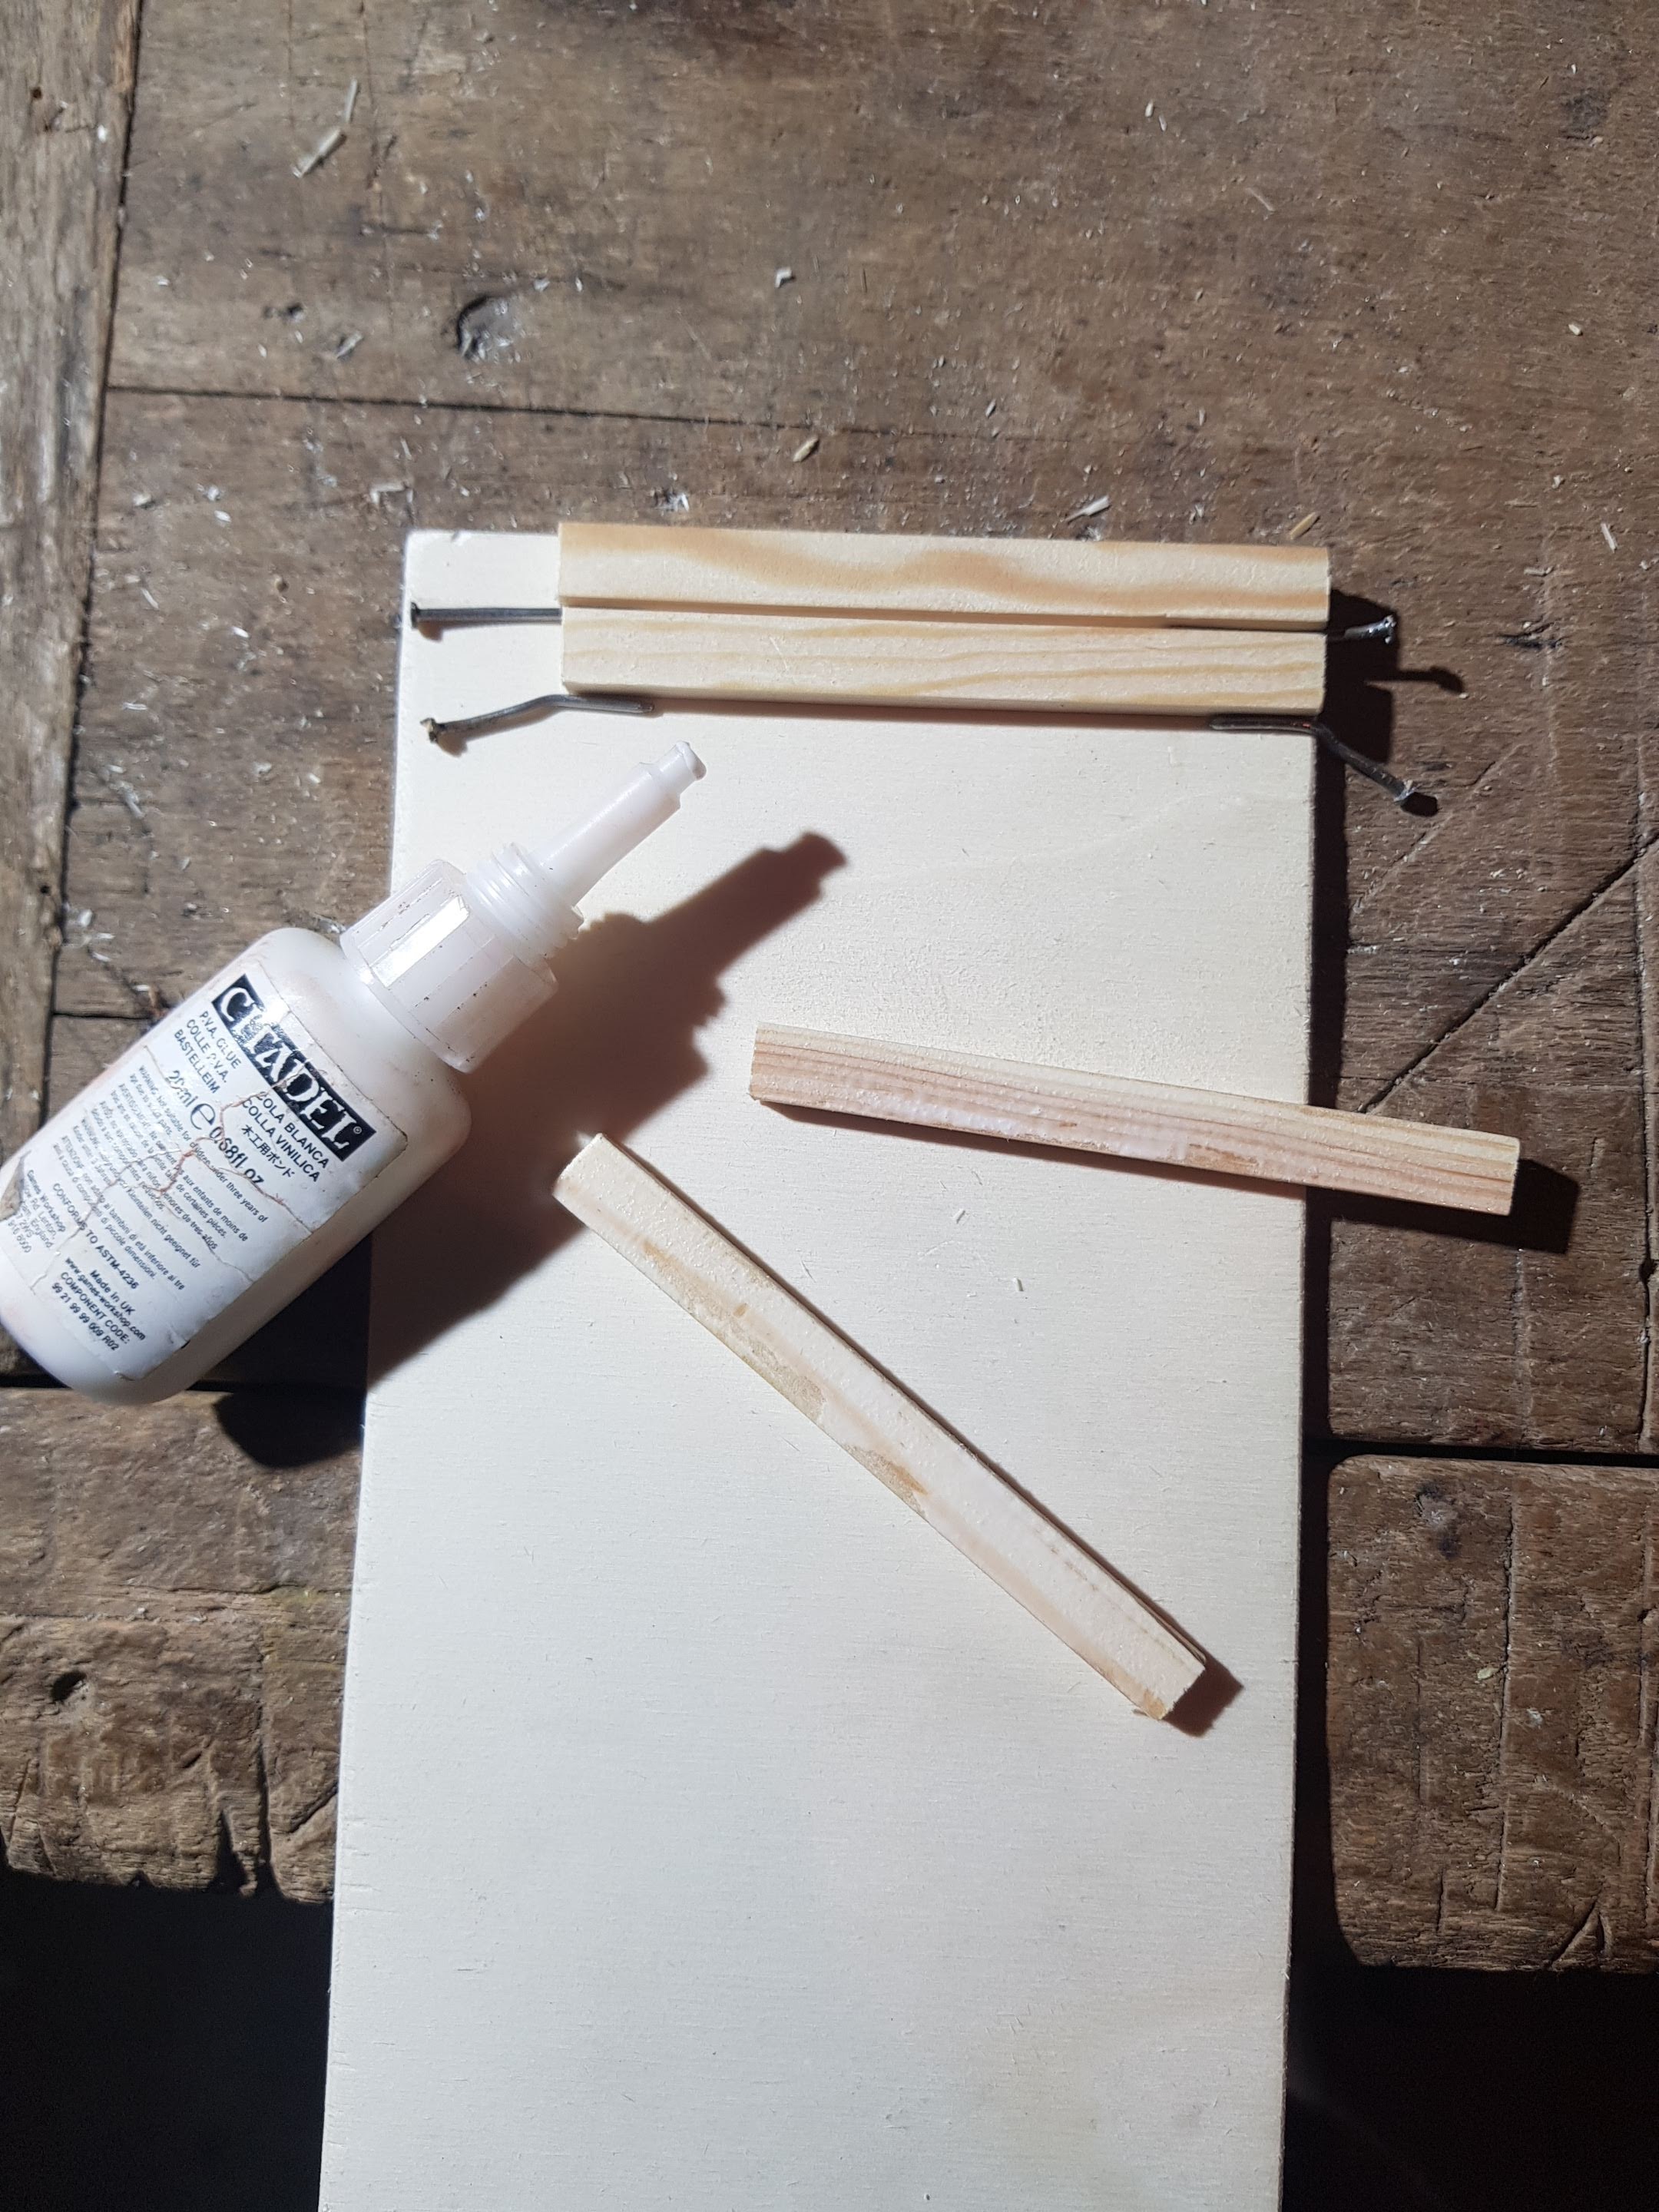
For the construction of the tray hold on the inside, I used ply wood plates and some pine wood stripes, and that's basically it.

The tools used:

Step-by-Step


The finished case


Let me know if you have any questions!

Wednesday, February 20, 2019

Necrons Rebooted -- First Necron Warrior Unit -- Assembly & Painting

Fellow Necron Lords!

After all the experiments with new materials and preparations being completed, it is time to start with the production of the bodies for my eternal servants!

First shall be a unit of humble Warriors.


The longest (and most tedious) part of the assembly was actually the removal of the mold lines of all the parts, followed by the fixing of the part mismatches after gluing things together. Here, one really feels the age of the venerable Necron warrior kit (almost as if it could indeed be 60 million years old! ;-))

Anyway, also the painting should be relatively fast with my new scheme.

To start with there is no annoying priming with a wasteful and inaccurate spray can outside in the cold winter's wind! Instead, I go directly with the gloss black base from AK interactive applied by airbrush:

It is good when it is really glossy and shiny! The more, the better for the mirror effect of the chrome paint! In fact, the Warriors do not appear really black in the above photo because of the gloss...

Now, time for the "super-advanced near-indistructable and self-repairing metal alloy"...

... which consists of first Xtreme Metal Chrome (above) followed by some Blue Metal accents (below).


Now, the Warriors are ready for the detail work to be done by paint brush...